
Today, our mobile devices, tablets, and computers serve as portals to the world’s happenings via the applications we use daily. These apps present information through a structured blend of texts, images, hyperlinks, and other elements, facilitating effortless access to content. 🔗 Hyperlinks especially enhance user engagement by providing gateways for in-depth exploration. In this guide, we’ll navigate the nuances of embedding hyperlinks into your .NET MAUI applications, thereby elevating the user’s interactive experience with your content.
Let’s start!
Constructing the HyperlinkLabel Class
The initial step involves creating HyperlinkLabel, a class that merges the visual appeal of a hyperlink with its interactive behavior. It also enhances the functionalities of Label by inheriting from it.
Adding the URL as BindableProperty
Let’s proceed by adding the BindableProperty, which will enable us to include the URL we want to open as parameter in the XAML. Bindable properties are designed to support a property system that facilitates data binding, styles, templates, and the setting of values through parent-child relationships.
We’ll define a BindableProperty named UrlProperty. To create it, we’ll utilize the Create method, which requires the following parameters:
🔹 Property Name: This is the name of the bindable property, specified as a string. To ensure accuracy and enable compile-time checking, we’ll use nameof to obtain a string that represents the property’s name, thereby preventing typos. – [Mandatory]
🔹 Return Type: Identifies the data type that the property will hold. In this instance, it is a string, indicating that the property will a Url as a text. – [Mandatory]
🔹 Declaring Type: Refers to the class that defines the property. In the context of this code, the declaring type is the HyperlinkLabel class, which is a custom class being defined to represent a user interface control that acts as a label capable of hyperlinked functionality.- [Mandatory]
🔹 Default value: This is the default value of the bindable property, its default value is null.
Url property
The Url property serves as a wrapper for the UrlProperty, simplifying the access and assignment of its string value.
Implementing the constructor
Lastly, we will flesh out the constructor, where we will define the visual traits characteristic of a hyperlink. By utilizing the TextDecorations and TextColor properties, we’ll impart the classic blue hue and underline to our link. Additionally, we’ll integrate a TapGestureRecognizer to facilitate the opening of the URL upon tapping the text.
Using the Hyperlink in the XAML
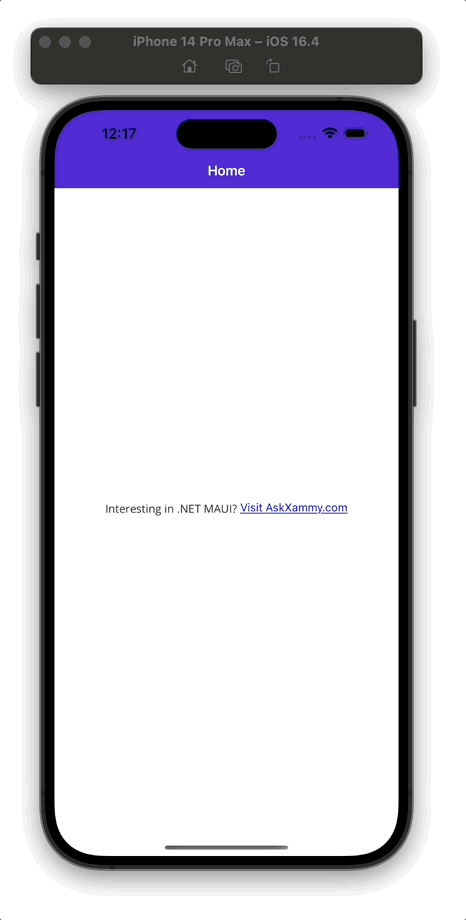
Next, let’s start incorporating the HyperlinkLabel into our XAML. Remember to include the namespace of the newly created class. The one I created is located at the root of the project, so we’ll use “local” as the namespace alias.
🚀 Voilà! In just a few quick steps, you’ve learned how to create hyperlinks for your .NET MAUI applications! Keep building awesome apps! 📖🙌
Spanish post:
References:
Thanks for reading my article! 💚💕

5 thoughts on “From Text to Action: Creating Hyperlinks in .NET MAUI”