Howdy! It’s a pleasure to have you here again, this time we will be learning about a very interesting and useful topic: Generate / create Excel files for our Xamarin Forms Apps. I imagine that at some point in your life as a developer you have wondered how to do this so that’s the reason behind this post!
This post will be divided into the following topics:
🔹 Working with the Models
-
-
- Excel and Contact structure
-
🔹 Creating class that handle the information in the Excel file
🔹 Integrating in the ViewModel
🔹 Creating an Export Button
First of all… What do I need?


If you want to read more about this NuGet Package you can enter here.

Let’s start!
Working with the models
To start, the first thing that we have to do it’s create a Model Folder. Once created we will be creating two Models: One is for the Excel structure and the other is just for the data that we’ll be using to show our implementation, in this case a Contact model.
➖ Generating Excel structure Model
As you can see in the code below you just need to add the Header and values attributes which are the main elements that make up an Excel file.
➖ Generating Contact Model
This model is just to show the implementation, here you can replace by the Model that you want to export later in your Excel file.
Creating class that handle the information in the Excel file
Now, let’s create a Service folder and inside it, create a class named ExcelServices.cs. In this block I will be detailing step by step how to build it.
➖ Step 1: Declaring variables
➖ The AppFolder is the responsable to give the folder location which will have the file. If you are testing from your computer you can find files created in the following location:

➖ And finally you are creating the Cell structure.
➖ Step 2: Creating the Excel Generator class
This class is responsible of creating all the workbook’s structure and save it in the AppFolder declared above. Here you already have the file created with the base structure of the workbook, at this point you will still not see data reflected in the file.
➖ Step 3: Creating the class responsible to insert data into the Excel file
Done, at this time your ExcelService class must have the following structure:
Starting ExcelService
Step 1: Declaring variables
Step 2: Creating the Excel Generator class
Step 3: Creating the class responsible to insert data into the Excel file
Ending ExcelService
Integrating in the ViewModel
Let’s create a ViewModel folder, in this case my ViewModel name is ExportingExcelViewModel. after creating it let’s start adding the following blocks of code.
➖ Step 1: Declaring variables
We’ll be needing a Command to add in a Button generator later, the excelService so that you later add the instance in the constructor and finally the Contact list to fill the Excel with test data.
➖ Step 2: Working with the constructor
Now, let’s add the test data in the constructor, this information will be used to export as values in the Excel file. And don’t forget to instantiate the ExcelService class. ?
➖ Step 3: Finally let’s create the ExportToExcel method
In this method, you just have to add the filename and call the GenerateExcel method. Then, add the headers and the values that you will be exporting. Once done, use the InsertDataIntoSheet method and finally, you can use the Launcher from Xamarin Essentials, to open the Excel file. If you want to know more information about Launcher you can enter here.
Creating an export Button
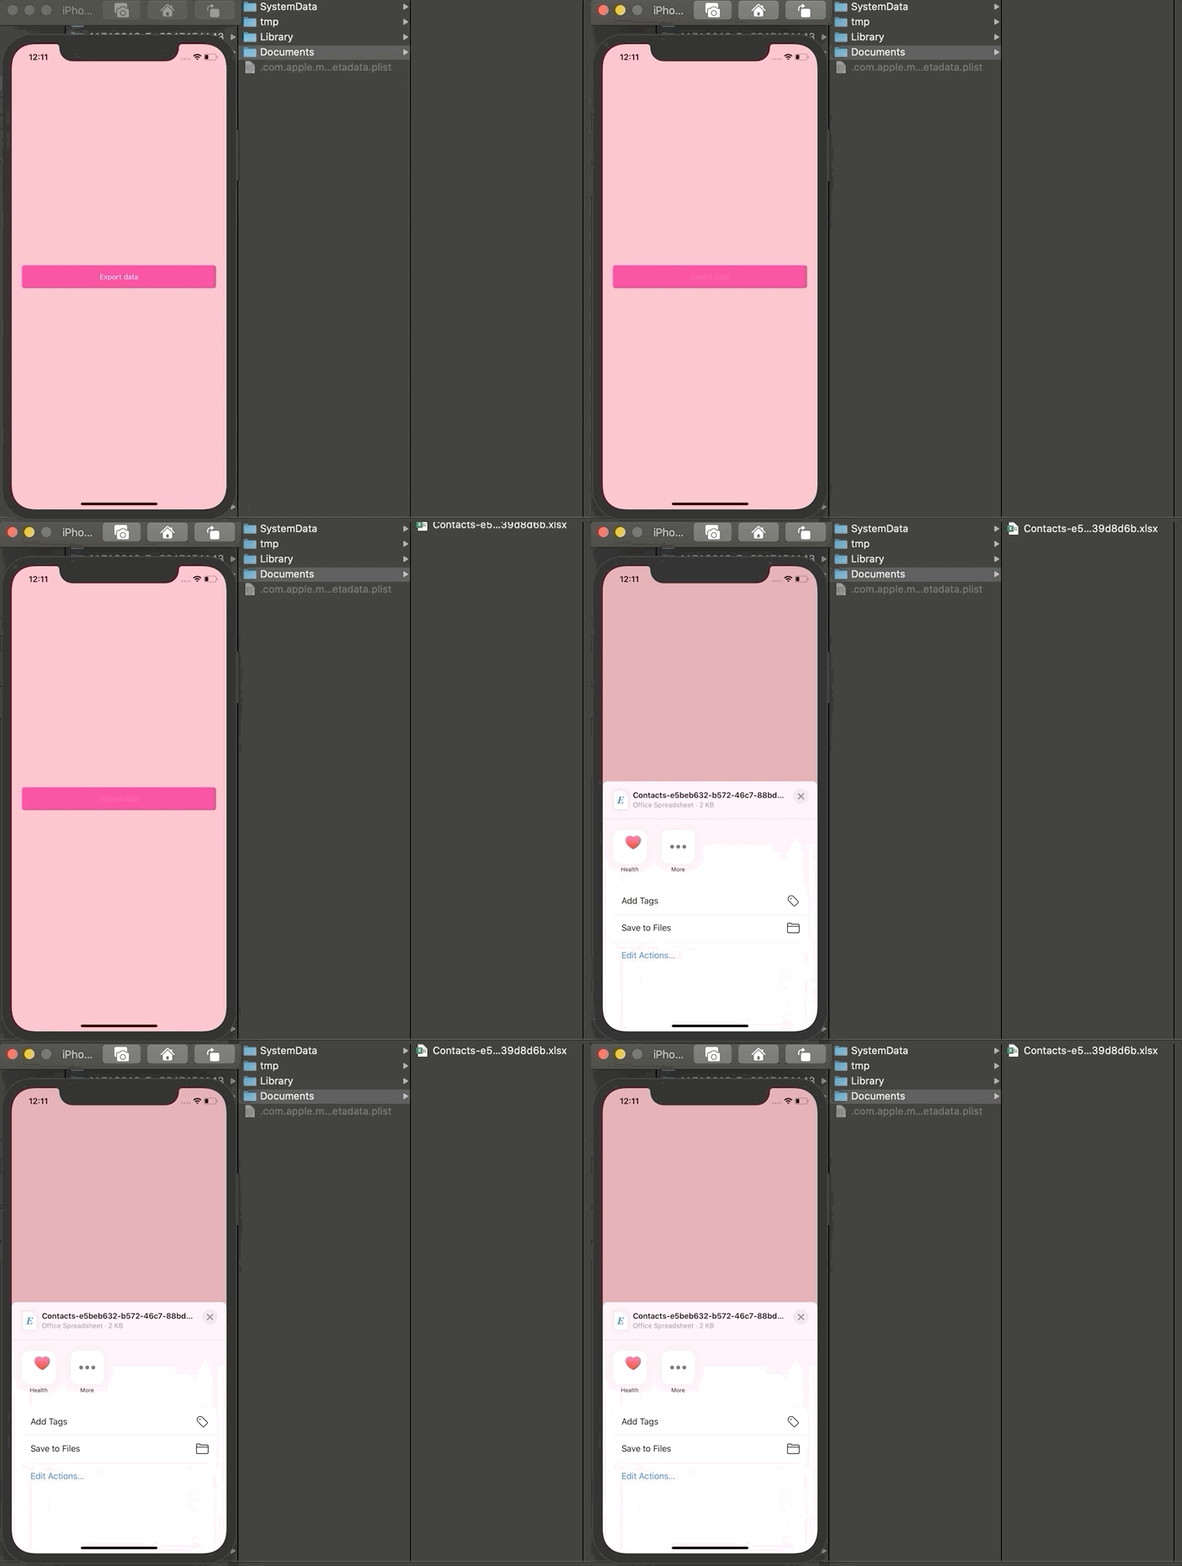
Done!! Let’s see!

Excel file

Thanks for reading!

.
References: This was taken from Luis Beltran article. I leave you the reference here.


Awesome ?
💚
thank you for sharing