Howdy!!! ?♀ In this case we are going to replicate a Real Estate UI obtained from Dribble. You can check the design here!
⚠ Before starting, to get the best out of the post, I’ll leave you some instructional notes so that you have a better experience reproducing the UI:
➖ At the beginning, you will see an image with the original UI where you will see divided into blocks as we’ll be working each part of the design.
.
➖ Each block presents the image with the design explicitly that we’ll be working on that block, they are highlighted in a box.
.
➖ In each of the code blocks you can see a comment that says: “Here add the code that is being explained in the next block“. To keep you as focused as possible, this part indicates you that the next block code explanation goes right where the comment line is added.
.
➖ I will not be using styles so that the properties added to the various components can be seen and understood faster in the explanation process.
.
Let’s start!
Let’s divide the original design into blocks
To better understand, I have divided the original design into blocks, which are listed in the order in which we will be reproducing each one, these are:


First of all, let’s hide the IOS status bar, to create a cleaner design. To do it, you just need to add the following code in your ContentPage header:
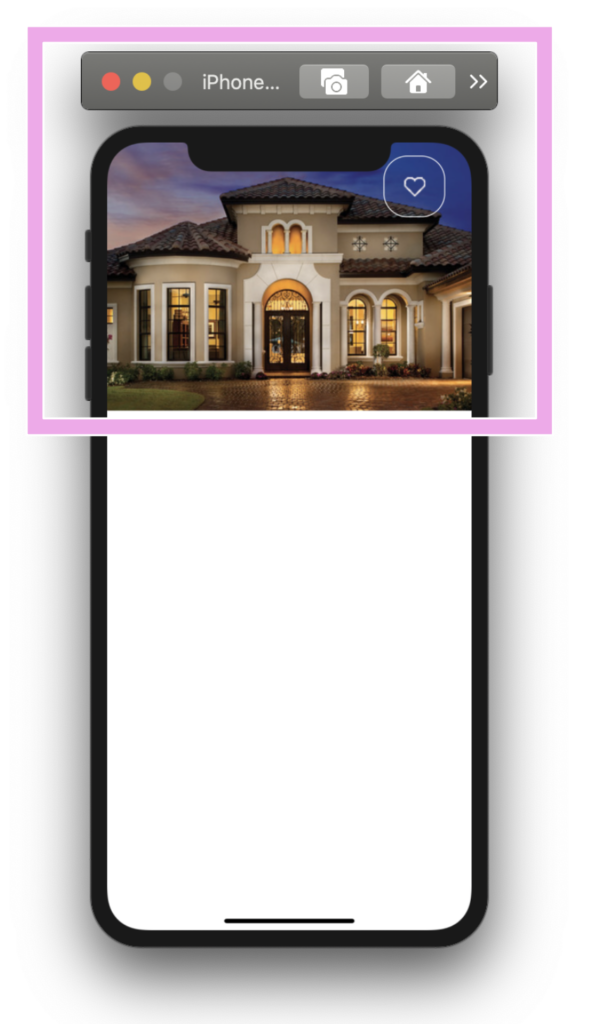
Let’s start! In this section we will be working with the “Main picture” block and to replicate it we just need to add the following parts:
.
➖ Main image
➖ Like transparent button
.
Defining the main structure: To start developing the complete design structure that will contain our first screen I will use a Grid. Within this Grid, we will be adding a ScrollView with which later we will achieve the floating effect of the buttons of block 5. Inside the ScrollView we will work the structure of blocks 1 to 4 with another Grid.
Once main structure created, let’s work the first block:


..
.
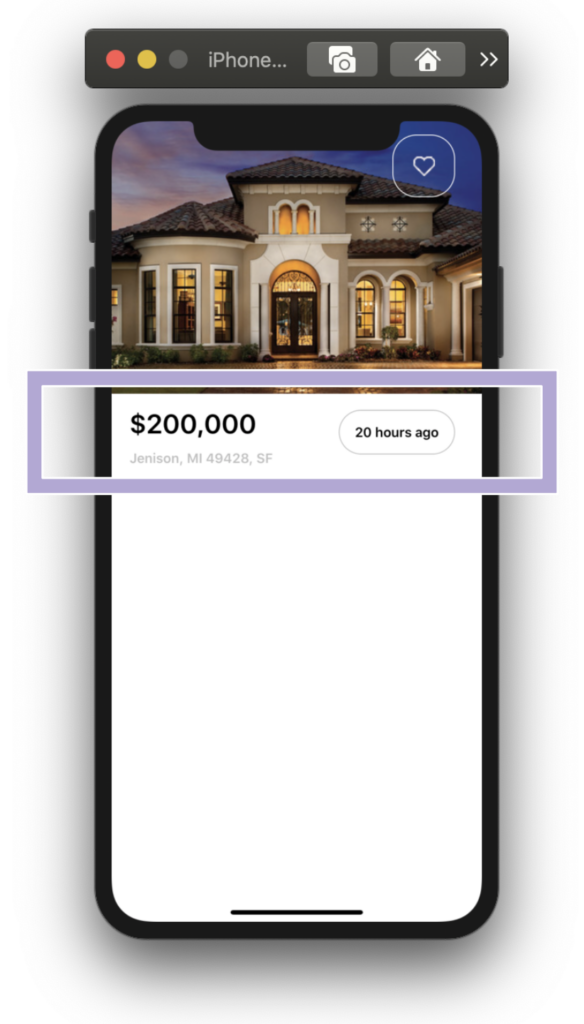
So, Let’s continue with the “Main information” block. To build it we just need to add the basic house information such as the price, location and the hours since it was published.
.
...


And now, Let’s continue with our next block named House information. To do it we’ll be using an horizontal CollectionView. It’s important that the project adheres to the MVVM Design pattern. That’s why I used text properties Binded.

.
.
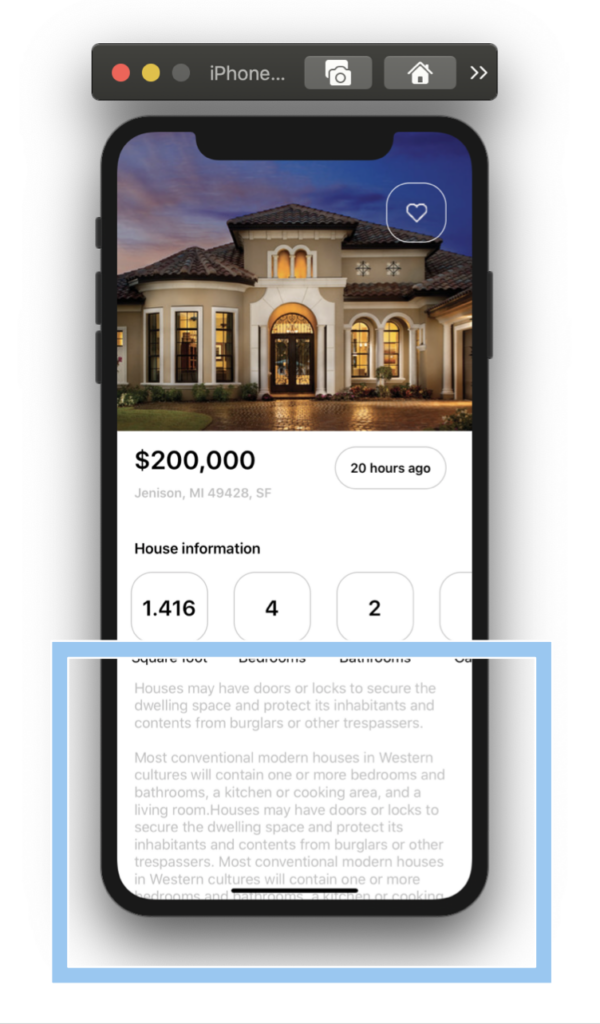
And almost to finish, in this block we will be adding the house description. In the example I added a lot of text so that the floating effect of the buttons in the next block could be better appreciated.
.
.
.


.
Finally, let’s add the “Floating buttons” block. Do you remember when defined the main structure in the first block? Yes! In this block we added a comment just like the following: “<!– Here add the code that is being explained in this block number five (5)–>” in this place let’s add the following code:
.
.
.
.
And our Real Estate design UI page is done! ?.

To see the complete code structure you can enter to my Github repository

Tagged Replicating UI, UI, Xamarin, Xamarin Forms


Hola buenos días desde México.
Quisiera saber algunas cuestiones técnicas con usted debido a que me surgieron dudas en cuanto al uso de tamaños “Auto” en sus filas/columnas dentro del diseño.
Esto surge a partir de, ¿qué es lo que pasa si ese valor Auto en una fila/columna, donde un elemento ocupa un tamaño ya preestablecido, en dispositivos con mayor resolución?
Que pase buen día y gracias po prestarme unos minutos de su atención.
Hola Daniel!! Te dejo un post en donde puedes ver esa explicación más detallada: https://askxammy.com/working-with-gridlayout-in-xamarin-forms/