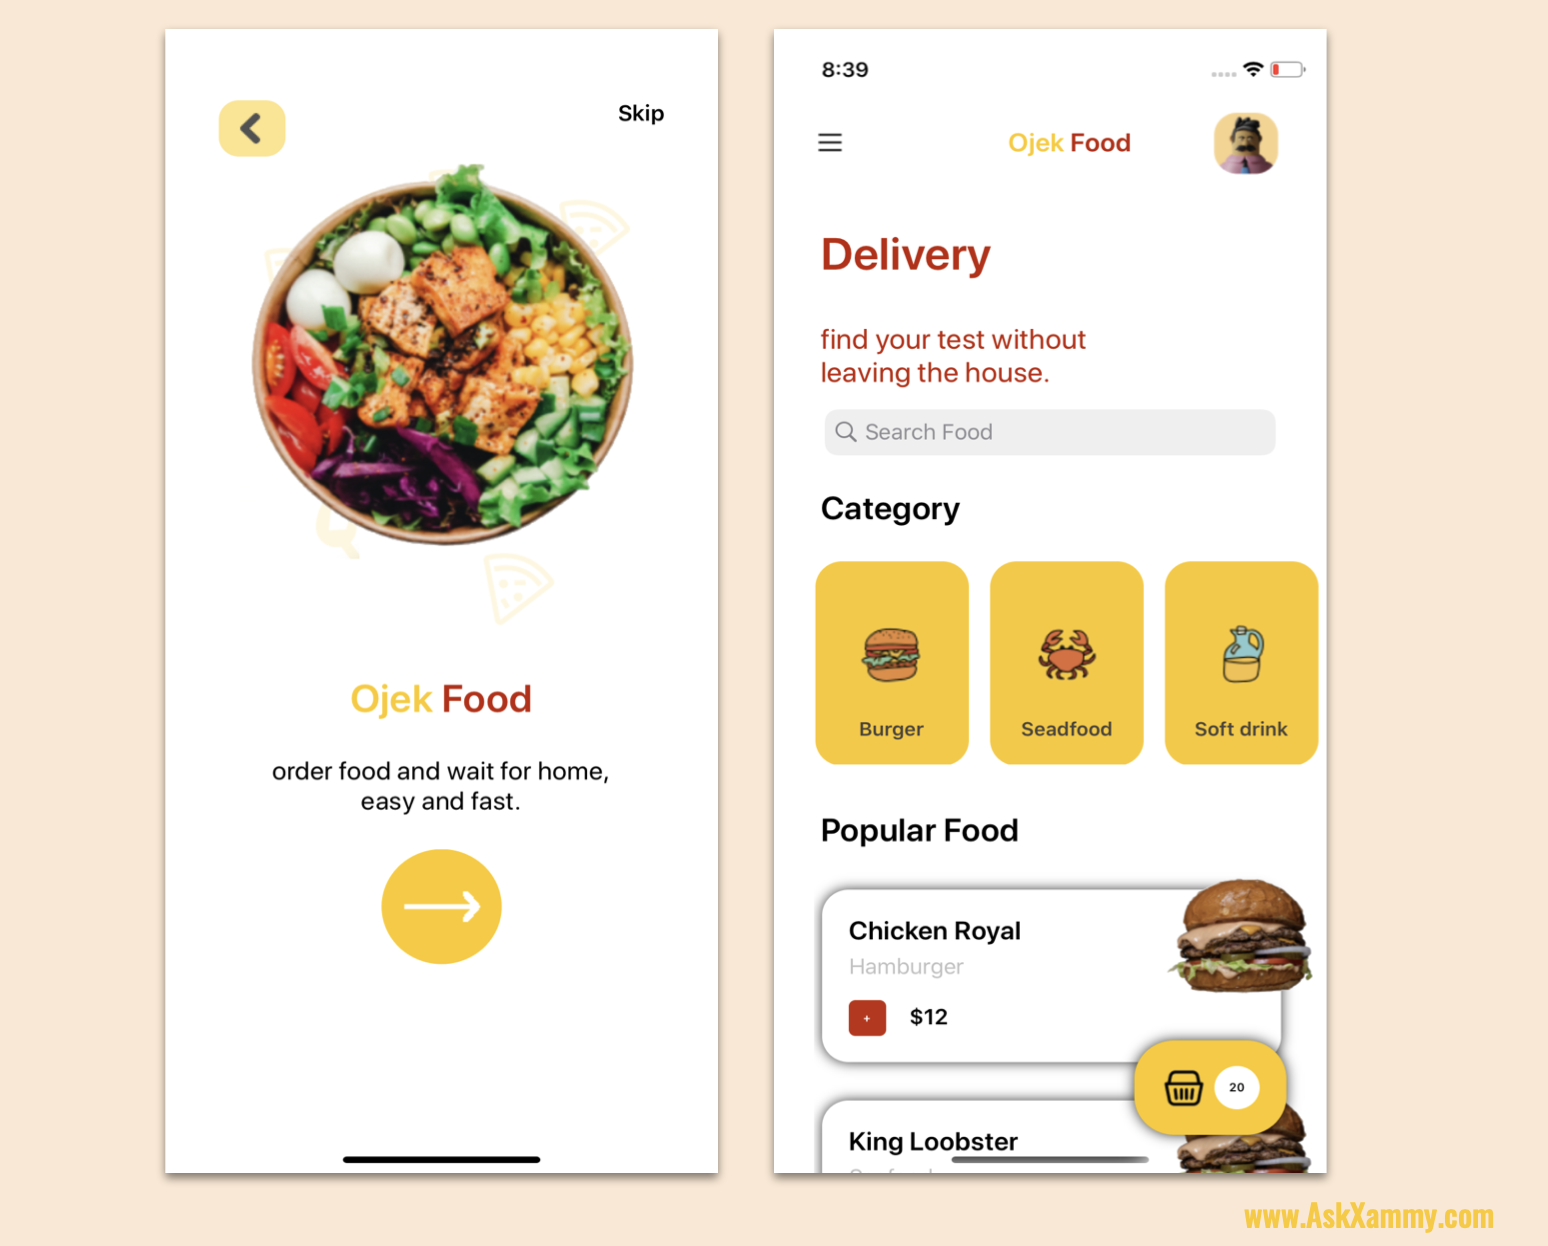
 In this case, we are going to replicate a Bill Details UI Ap obtained from Dribble. You can check the design here!
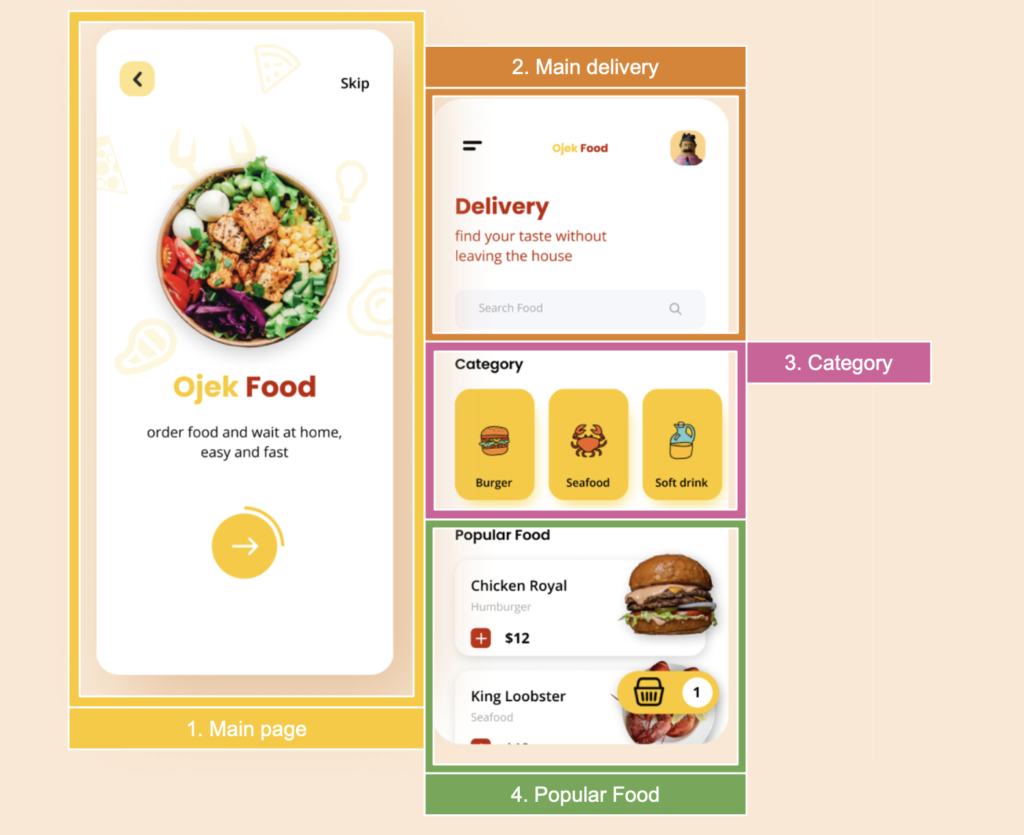
 In the beginning, you will see an image with the original UI where you will see divided into blocks as we’ll be working on each part of the design.
 Each block presents the image with the design explicitly that we’ll be working on that block, they are highlighted in a box.
 In each of the code blocks, you can see a comment that says: “Here add the code that is being explained in the next block“. To keep you as focused as possible, this part indicates to you that the next block code explanation goes right where the comment line is added.
 I will not be using styles so that the properties added to the various components can be seen and understood faster in the explanation process.
Let’s start!
Let’s divide the original design into blocks
To better understand, I have divided the original design into blocks, which are listed in the order in which we will be reproducing each one, these are:

First of all, let’s hide the IOS status bar, to create a cleaner design. To do it, you just need to add the following code in your ContentPage header:
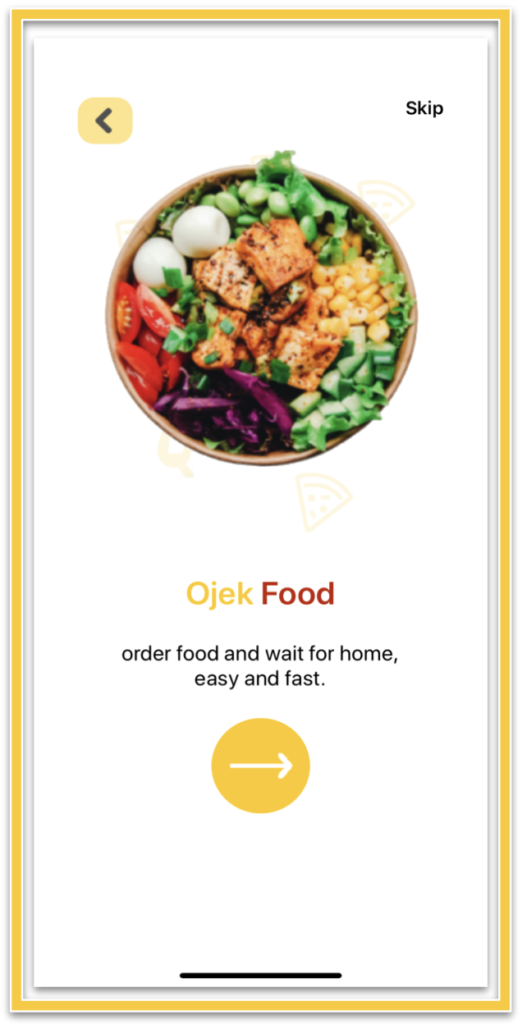
Let’s start with a simple page, the main layout will be contained in a Grid. If you want to know about Grid, you can enter here.
To build the main screen, we need to add the following controls:
🟡 Back Button
🟡 Skip label
🟡 Main image
🟡 Title label. As you see, the title has two different styles. To see more information on how to do it you can open the following post.
🟡 Description label.
🟡 Circle Button. If you want more information about how to do it, you can enter here..

It’s important to see that the second page has a Floating button, that’s why we’ll adding a ScrollView inside a Grid. Once created, let’s add a Grid as Main layout. (If you want to know more information about floating button, you can enter here.)
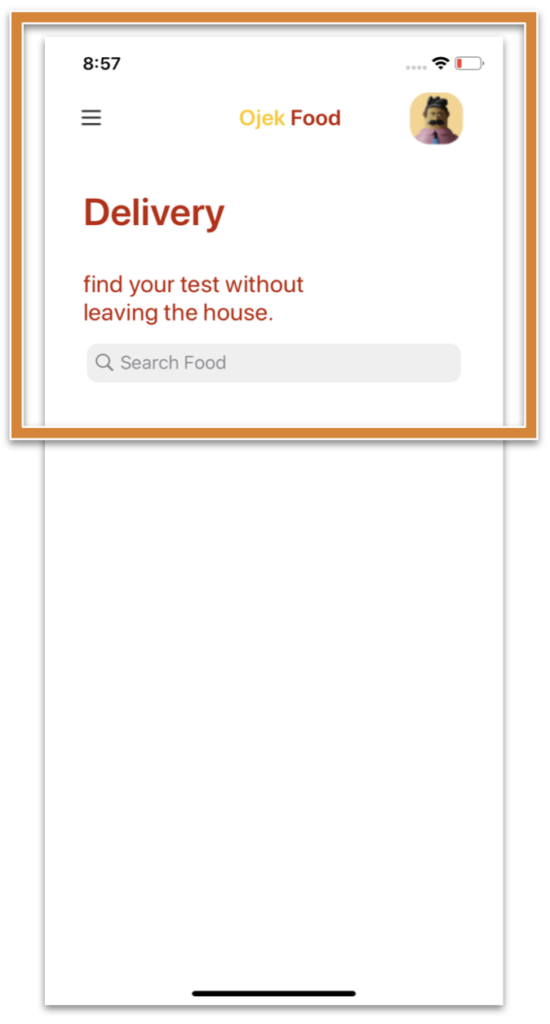 And now, let’s continue with the “Main Delivery” Block.
.
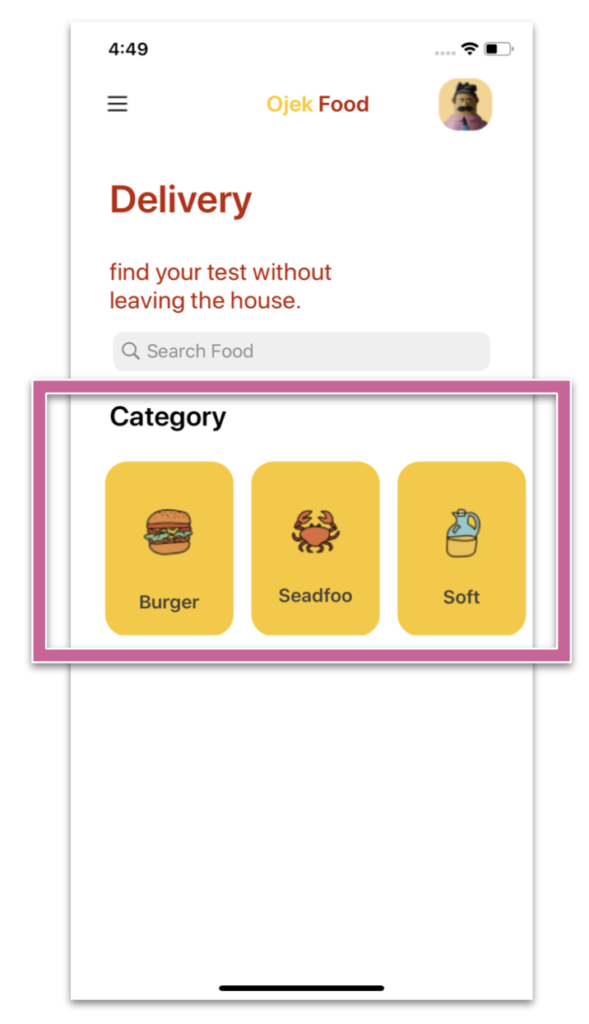 Now let’s continue creating the Category list. To replicate it, we’ll be using a CollectionView.

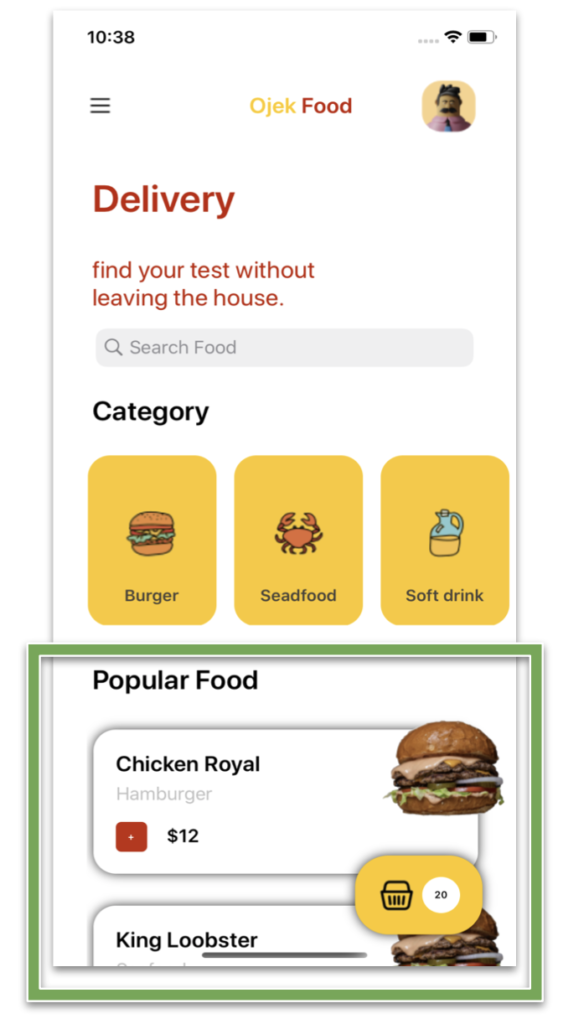 And finally, let’s add the Popular Food list, we also will be using a CollectionView.
To add the floating button, go to the block two and identify exactly where it says “<! – Here add the Floating button deployment ->”, then replace that line with the following code:
 .
.

