

 In this case we are going to replicate a Fashion UI App obtained from Dribble. You can check the design here! Previously I created an article on how to start creating this UI, thinking about how to divide the rows and columns, I recommend you take a look, the name is “Getting started with a UI and not die trying in Xamarin Forms”.
 Before starting, to get the best out of the post, I’ll leave you some instructional notes so that you have a better experience reproducing the UI:
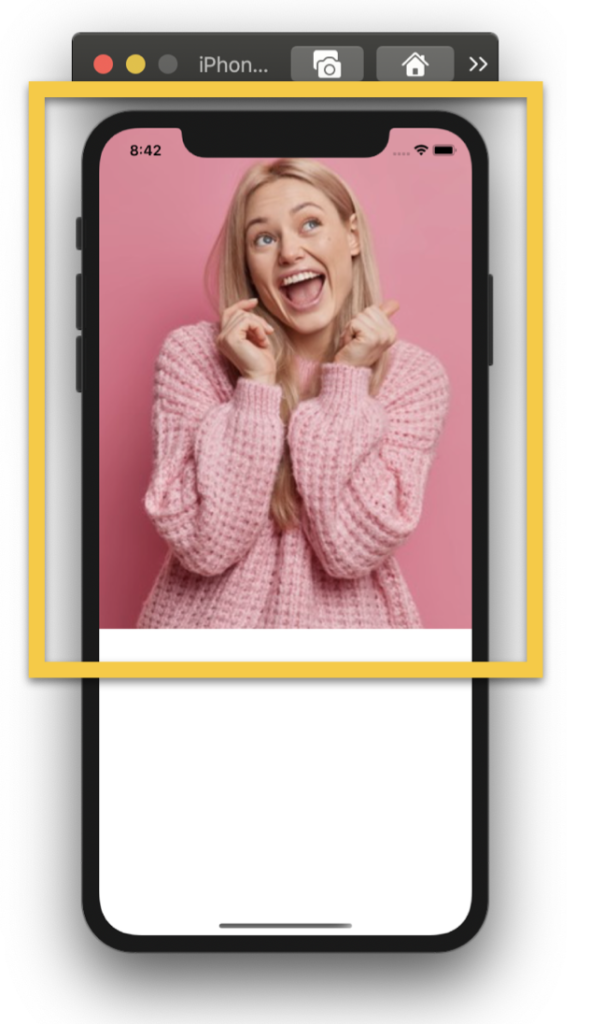
 At the beginning, you will see an image with the original UI where you will see divided into blocks as we’ll be working on each part of the design. Each block presents the image with the design explicitly that we’ll be working on that block, they are highlighted in a box. In each of the code blocks, you can see a comment that says: “Here add the code that is being explained in the next block“. To keep you as focused as possible, this part indicates to you that the next block code explanation goes right where the comment line is added. I will not be using styles so that the properties added to the various components can be seen and understood faster in the explanation process.
Let’s start!
Let’s divide the original design into blocks
To better understand, I have divided the original design into blocks, which are listed in the order in which we will be reproducing each one, these are:

First of all…
We will be using Xamarin Community Toolkit 💚 . So, be sure to include the following steps in the screen developed below:
 Add from NuGet Package the plugin: Xamarin.CommunityToolkit

Then, add the following namespace:

 .
.
Let’s start with the first screen, to do it we need to define the main structure, we will be based on our previous article named Getting started with a UI and not die trying in Xamarin Forms.
Additionally, we need to add the main image in our screen.

 Now, let’s create the Description block which is composed by the following components:
➖ Title & Box mark
➖ Description
➖Rounded Button
Title & Box mark: I like this little effect! In this case, we are going to achieve a title with two different styles which have a decoration behind a pink Box!
For the title, we will use a single label with the FormattedText and for the mark behind we will use a BoxView.
The next step contains Description & Rounded Button! Note that we have a shadow for the Button, to edit we will be using Xamarin Community Toolkit!


.
Let’s continue with the second screen, working with the Header Block.
First, let’s start with the main layout structure that we will be using!
The block is composed by the following components:
➖ Profile picture
➖ Welcome & Name
➖ Bell
➖ Search & Action Button

 .
.
Finally, we are going to create a horizontal list with the Popular Fashion information. To achieve this, we will use a CollectionView.
This list of details will be broken down into the following data:
➖ Profile picture
➖ Description
➖ Price
➖ Like button
If you want to know more information about CollectionView, you can enter here.


Finally, let’s create the recommended list, also using a CollectionView!

 .
.


Hi Mam.
I m Rizwan From India. i m xamrin developer. i have a problem for nested collection view or nested list view like repeter control.Please write a article of this topic
Hello!! I’ll add it to my post list to write! 😊