

 Before starting, to get the best out of the post, I’ll leave you some instructional notes so that you have a better experience reproducing the UI:
 At the beginning, you will see an image with the original UI where you will see divided into blocks as we’ll be working each part of the design. Each block presents the image with the design explicitly that we’ll be working on that block, they are highlighted in a box. In each of the code blocks you can see a comment that says: “Here add the code that is being explained in the next block“. To keep you as focused as possible, this part indicates you that the next block code explanation goes right where the comment line is added. I will not be using styles so that the properties added to the various components can be seen and understood faster in the explanation process.
Let’s start!
Let’s divide the original design into blocks
To better understand, I have divided the original design into blocks, which are listed in the order in which we will be reproducing each one, these are:


Let’s start with the left screen 
It’s important to know that before everything we need to define the main screen layout structure. In this case I will use a Grid (I love it 💕 )
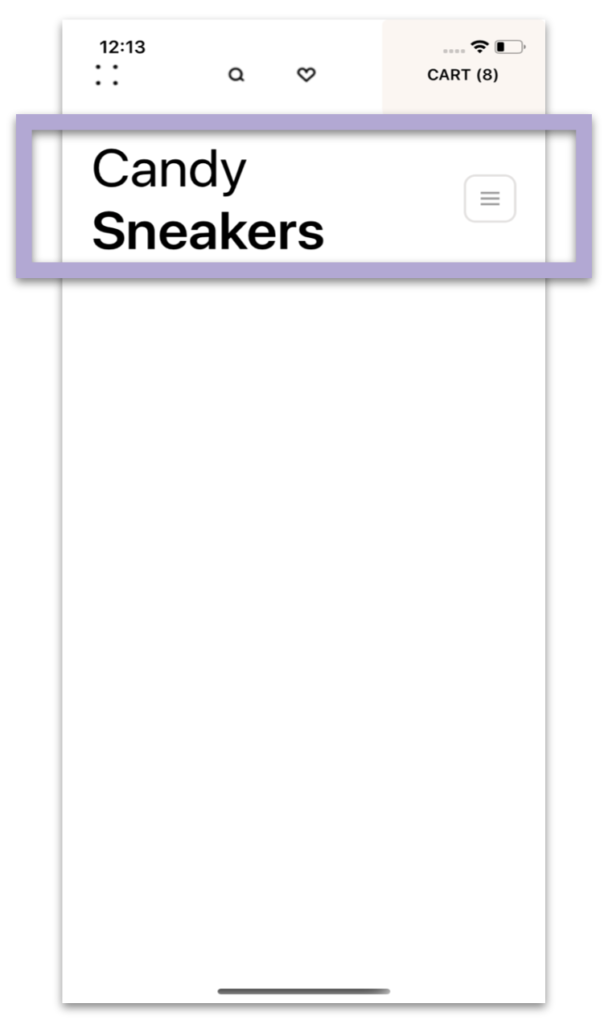
When doing UI replication it’s very important to pay attention to every detail of our block to replicate, in this case for the Main Header Block we will need to add the following components:
Cart counter (To round off the left corner, use PancakeView) Heart icon Find icon Menu points
 .
.

Now, let’s use a CollectionView to create the sneaker list! If you want to know more information about it, you can enter here.
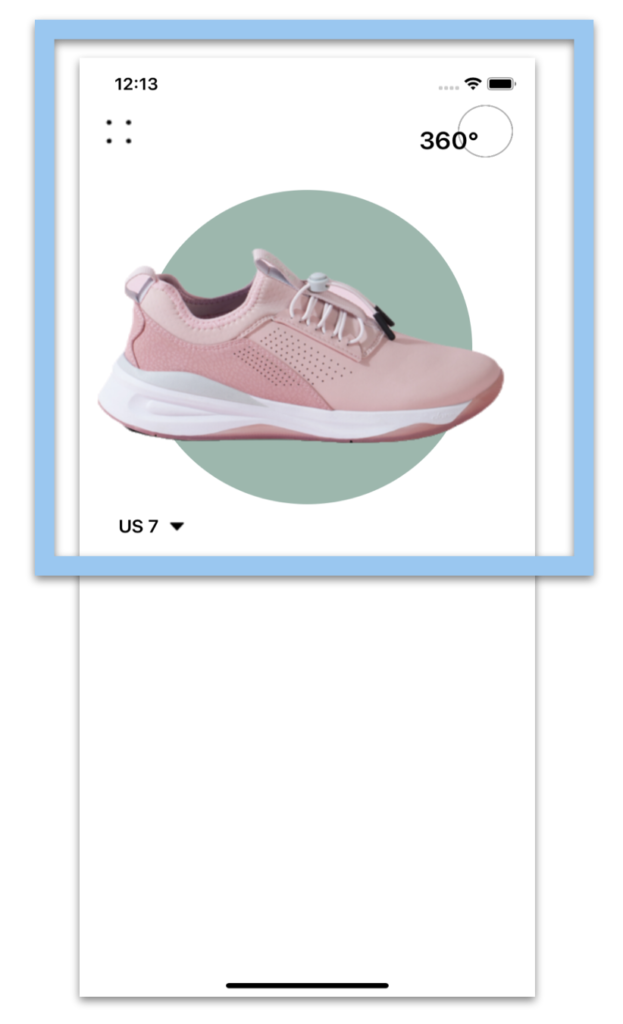
In this block we will need to add the following components:
Main imagen (To round the corners I also use PancakeView) Heart button Title PriceLet’s continue with the last screen

 .Let’s continue with the last screen, in this case is the sneaker detail. To create the main structure I also will be using a Grid as in the block code added below:
⚠ If you want to know more information about the Grid. You can enter here.
The first block is named “Sneaker menu” and here we have a main circle, to replicate it we will be using Shapes in Xamarin Forms.
.


.
To work in this block, we will need to use some additional components, such as the CollectionView and we will add circular buttons with some available colors (You can see this more detailed topic here).
In detail, we must integrate the following components
Main title Colors selector (To do it, we will use a CollectionView) Price
 .
.
And finally! Let’s work with the Description block!
.
..
 .
.⚠ Sometimes we want our design to only adapt to one type of orientation, for this reason I configured it only for Portrait. If you want more information on how to do it, you can access here.

.


Wow. Amazing.
Thank you! 🙈
Very Good and beautiful your projects, how do you get the original images to build the views?
Thanks !! 💚💕 I look for similar images in free image portals or I take screenshots (Always giving credits to the author)
amazing
Thanks 😍🙈!
This is the cleanest and most easy to follow tut and ever. I loooove the design ad I can’t wait to change the colours and use some of the elements you have taught. Amazing work!
It’s a pleasure to read this 😍 I love being able to contribute! 💚💕
I would like to say thank you for UI replacing articles! It has been very helpful since I am trying to learn xaml!
It’s a pleasure for me! And I’m happy to know it! 💚💕
Fantastic! Great job!
Thank you!! 💕