

 Hope you’re doing well!! This time we’re going to replicate an Events UI, this design contains two screens, one of which we are going to replicate in this article: The event detail screen. It’s very beautiful and super easy to replicate! .. But… 🧐 I would like to challenge you to build the other screen !! Do you dare!!? 🤓 If your answer is positive, I hope to see your results! In the meantime, I leave you the design reference here!
In case you dare to do this “Mini-Challenge”, when you finished just publish it on your social media and tag me so I can see it! With this way, we all be sharing our experiences! And you will see that you will love, as much as I do, to replicate UIs!! 😍
 Before starting, to get the best out of the post, I’ll leave you some instructional notes so that you have a better experience reproducing the UI:
 At the beginning, you will see an image with the original UI where you will see divided into blocks as we’ll be working on each part of the design. Each block presents the image with the design explicitly that we’ll be working on that block, they are highlighted in a box. In each of the code blocks, you can see a comment that says: “Here add the code that is being explained in the next block“. To keep you as focused as possible, this part indicates to you that the next block code explanation goes right where the comment line is added. I will not be using styles so that the properties added to the various components can be seen and understood faster in the explanation process.
Let’s start!
Let’s divide the original design into blocks
To better understand, I have divided the original design into blocks, which are listed in the order in which we will be reproducing each one, these are:


 Defining the main structure: To start developing the complete design structure that will contain our first screen I will use a Grid. It’s important to note that we are using a ScrollView to prevent complications when viewing on small screens.
Once the main structure is defined, let’s start! 😎
To replicate the first block, we just need two components: The main picture and a heart image.
⚠ To define the rounded corners of the image I used PancakeView. So, don’t forget to add the following namespace:

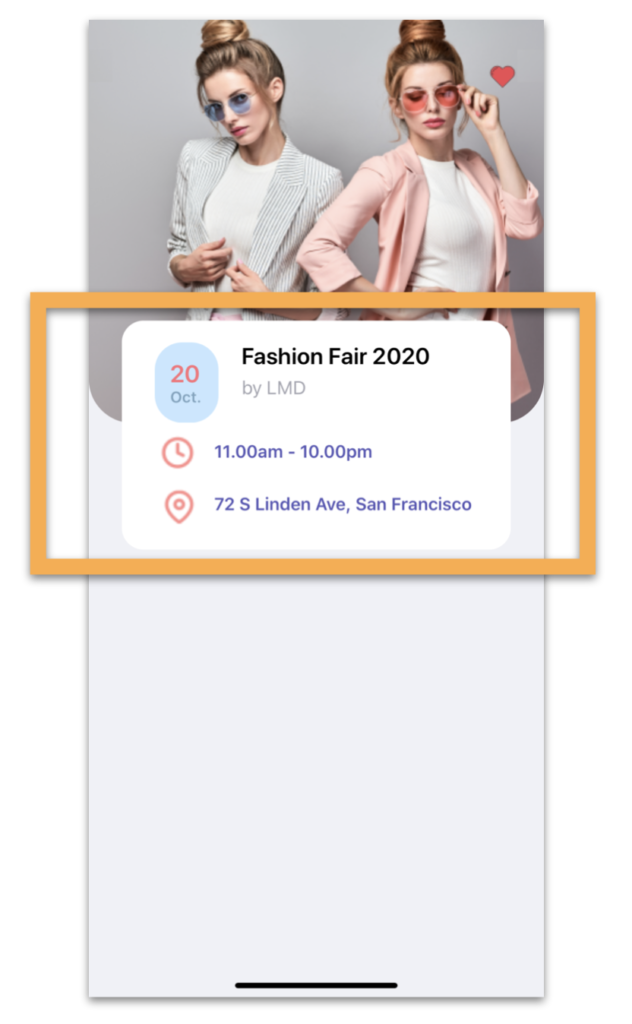
 🎯 For the second block, we’ll be using a Frame that will be containing all the descriptions required by the UI. I also will be using a Grid and before start coding, I show an image with the rows & columns division needed to define our Grid better.
✍️ So, let’s start coding
 The following code block should be added in the part of the code added above where says “<! – Here add the code that is being explained in this block ->”. And this next block contains the following components:
-
-
- Date Information frame
- Event, Time and Location Information
-

In the next block, we just will be building the event details which contains the following components:
-
- Description
- Guest list (To create this list, I used a CollectionView 😋)
- Go Button


 And finally, let’s add the “Ticket price” block. Here we also use a PancakeView to de Rounded corners.
Sometimes we want our design to only adapt to one type of orientation, for this reason, I configured it only for Portrait. If you want more information on how to do it, you can access here.
.
.

 .
.


Hey Xammy, how would you replicate the bottom bar interaction in the first image of the design?
Hi Jose! I leave you this UI so that it works for you as an example! It has a similar design to the one you want! https://askxammy.com/replicating-food-ui-sample/
Very good, you are a great designer
Thanks for your excellent articles
You’re welcome! 💚💕
Thank you for the above, it is helping me understand Xamarin design.
It’s a pleasure for me! 💚💕